How to Get Your Police Clearance Online in the Philippines
You need a police clearance for a job, a visa, or a bank account, and you’d rather not find out at the counter that you brought the wrong ID. That’s the situation most people are in when they land here. This guide walks through the real process registration, appointment, payment, and the two problems that trip up almost everyone: full appointment slots and login errors.
Police clearance refers to an official document issued by the Philippine National Police confirming whether a person has a criminal or derogatory record on file. In the Philippines, it’s most often obtained through the National Police Clearance System (NPCS), the PNP’s centralized online platform.
This works best if you’re applying for the first time or renewing after your last clearance expired. It won’t help much if you already have a pending case flagged in the system that requires a separate process at your local station, not something this guide covers.
What Is a Police Clearance, and Why Does It Keep Getting Rejected?
A national police clearance checks your name against the PNP’s Crime Research and Analysis Center database, which covers records nationwide rather than a single city or town. That’s the whole point of going national instead of local: <cite index=”4-1″>the old municipal system let a person with a flagged record in one city walk away clean in another, simply because the databases weren’t connected</cite>. The NPCS closed that gap.
Most rejections at the counter don’t happen because of a criminal record. They happen because of ID mismatches a name that doesn’t match exactly, an expired ID, or a document missing a photo and signature. <cite index=”2-1″>Applicants are asked to bring at least two original valid IDs showing their complete name, photo, and signature</cite>. Miss that, and you’re rebooking an appointment.
Here’s the thing: most guides list the accepted IDs and stop there. What they skip is which ones actually clear the counter without a second look passport, driver’s license, and UMID tend to cause the fewest issues, while a school ID or barangay certificate is more likely to get flagged for extra verification.
National vs. Local Police Clearance: Which One Do You Actually Need?
Not every situation calls for the national version. Some employers, especially smaller local businesses, still accept a local police clearance from your municipal station.
Quick Comparison
| Option | Best For | Key Benefit | Limitation |
|---|---|---|---|
| National Police Clearance (NPCS) | Employment, visas, bank accounts, government IDs | Checks records nationwide through the CRAC database | Requires online registration and a scheduled in-person visit |
| Local Police Clearance (LPC) | Local permits, barangay-level requirements | Faster, walk-in processing | Coverage limited to that city or municipality |
National Police Clearance vs. Local Police Clearance comes down to scope. The national version is built for anything that leaves your city jobs, visas, immigration paperwork. The local one works when the requesting office only cares about your record within that municipality. When in doubt, get the national one; it’s accepted almost everywhere the local version is.
How to Apply for Police Clearance Online: Step by Step
To apply for police clearance online, follow these steps: 1. Register an account on the official NPCS portal. 2. Complete your applicant profile with accurate personal details. 3. Choose a police station and pick an available appointment slot. 4. Pay the clearance fee through an accepted channel. 5. Appear in person for biometric capture and photo. 6. Download your clearance once approved.
Walk through it in more detail:
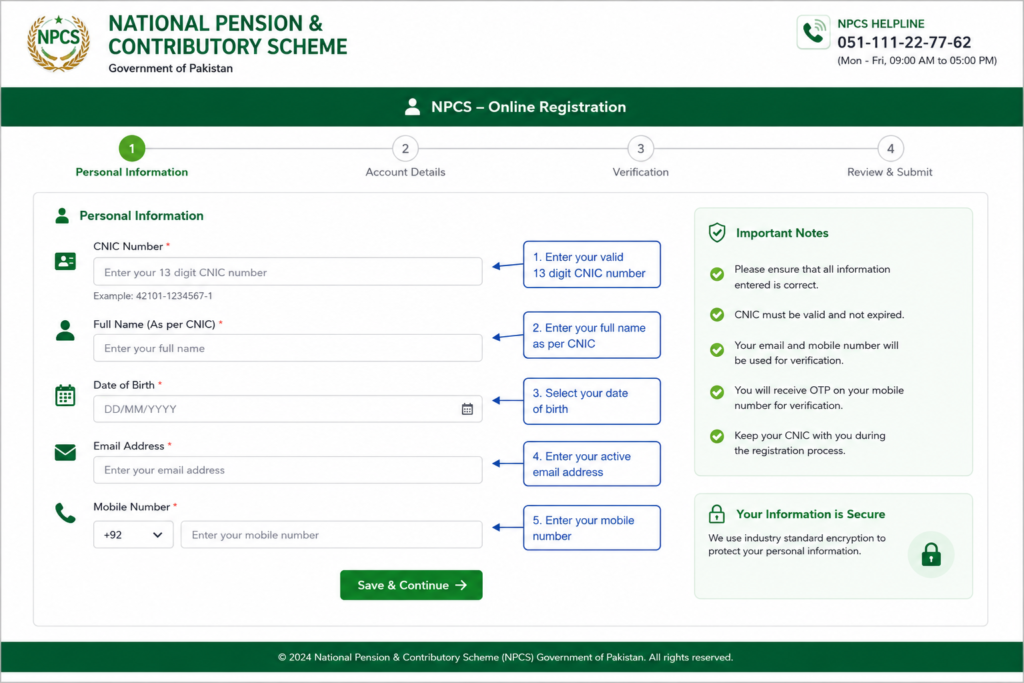
Step 1 Create your account. You’ll need an active email address, a mobile number, and a stable internet connection to get through registration without the session timing out.
Step 2 Fill in your applicant profile. Use the exact name and birth date on your valid ID. A mismatch here is the single most common reason applications get flagged for manual review later.
Step 3 Book your appointment. This is where most people get stuck. Popular stations in cities like Quezon City or Cebu often show no open slots for weeks.
Step 4 Pay the fee. <cite index=”1-1″>The system supports multiple payment methods</cite>, and you should keep your receipt as proof of payment until your clearance is released.
Step 5 Show up for biometrics. <cite index=”2-1″>A personal appearance at a police station is still required for capturing your photo and fingerprints electronically</cite>, even after everything else is done online.
Step 6 Download and verify. Once processed, your clearance is downloadable and carries a QR code for instant authenticity checks.
I’ve seen conflicting information about how long the whole process takes some sources say same-day release after your appointment, others cite a few business days depending on the station’s backlog. My read: budget for same-day at busier stations and same-week everywhere else, and don’t schedule a flight around it.
Requirements and Valid IDs That Actually Get Accepted
Bring two original, valid government-issued IDs. Passport, driver’s license, UMID, PhilHealth ID, and voter’s ID are commonly accepted without extra scrutiny. PWD ID, senior citizen’s ID, and Alien Certificate of Registration are also valid for applicants in those categories.
A school ID paired with a registration form can work for students, but it’s the ID most likely to require a follow-up document. If you only have one strong government ID, pair it with a company or organization ID like a PRC license rather than risk a barangay certificate getting questioned.
Fees, Payment Methods, and Common Application Problems
The clearance fee is paid online before your appointment, and most applicants use GCash or over-the-counter payment centers linked to the NPCS portal. Fees can shift slightly by region, so confirm the exact amount shown at checkout rather than relying on a number from last year’s post.
Two problems account for most of the complaints in Facebook groups and forums:
No appointment slots available. Slots typically open at set intervals rather than continuously. Checking early morning, right when the portal refreshes, tends to work better than checking at random points during the day. Some applicants also have better luck picking a smaller, less central station within the same city.
OTP or login errors. This usually traces back to an outdated app cache, a typo in the registered email, or a carrier delay on the SMS. Clearing your browser cache and retrying, or switching from mobile data to Wi-Fi, resolves it more often than people expect.
Some applicants argue it’s faster to just go the local clearance route and skip the online system entirely. That’s a fair call if your requesting office genuinely only needs local-level coverage. But if you’re applying for a job that could eventually require travel, banking, or immigration documents, the national clearance saves you from redoing the process later.
People Also Ask
Q: What’s the best way to avoid appointment slot issues?
A: Check the portal early in the morning right after slots refresh, and consider a less central station in the same city for shorter wait times.
Q: How do I know if I need national or local police clearance?
A: If the request involves employment, travel, banking, or government transactions outside your municipality, get the national clearance.
Q: Should I bring photocopies of my ID?
A: No bring original valid IDs. Photocopies alone are typically not accepted for the biometric appointment.
Q: Why does my application keep getting flagged?
A: Usually a name or birth date mismatch between your profile and your ID. Double-check both before submitting.
Q: When should I renew my police clearance?
A: Renew before it expires if you’re using it for an ongoing application; most requesting agencies want a clearance issued within the past six months to a year.
Anyway, the process itself isn’t complicated it’s the waiting and the small mismatches that slow people down. Get your ID details right, book early, and the rest is mostly patience.
This guide covers the standard online application process for Filipino citizens applying in the Philippines. It does not cover overseas applications through Philippine embassies/consulates or clearance certification for bedridden, deceased, or petitioner cases, which follow a separate documentation path.
Conclusion:
Getting a police clearance online in the Philippines isn’t hard once you know where the process actually breaks down — it’s the ID mismatch, the full appointment slots, and the OTP errors, not the paperwork itself. Get your name and birth date to match your ID exactly, book your slot early in the morning, and bring two originals with a clear photo and signature. That’s most of the battle.
If your requesting office only needs city-level coverage, the local clearance is faster. For anything crossing city lines — a job, a visa, a bank account the national clearance through NPCS is worth the extra step.
One last thing: requirements can shift slightly by station, so it’s worth a quick check with your chosen police station before your appointment date. This guide covers the standard process for Filipino citizens applying within the Philippines; it doesn’t cover overseas applications or certification cases like bedridden or petitioner requests, which follow a separate track.